As the time goes on human beings trying to invent new technologies and improve functionality of existing one, in same trend Microsoft developed new version of Exchange Server i.e. Exchange Server 2013 and launched it on October 11, 2012 which over comes the disadvantage of Exchange Server 2010 and gives a better, improved technology and services for optimum capabilities of email communication.
Exchange 2013 has numerous new features which are attracting users to upgrade Exchange 2010 to 2013. Some of the latest included features are given below:
The easiest approach of migrating exchange 2010 mailboxes to Exchange 2013 is by first exporting the mailboxes to PST format and then importing the mailboxes to Exchange Server 2013.
PowerShell is a tool provided by Microsoft with which users can easily perform the required operation. Just Follow the below mentioned steps
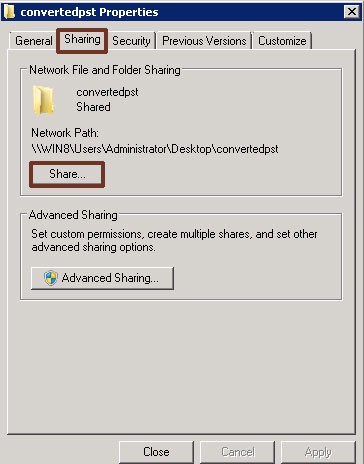
Step 1: First of all, create a folder where you want to store the exported PST data and make the folder sharable by clicking on share button from the properties Create Folder >> Properties >> Share
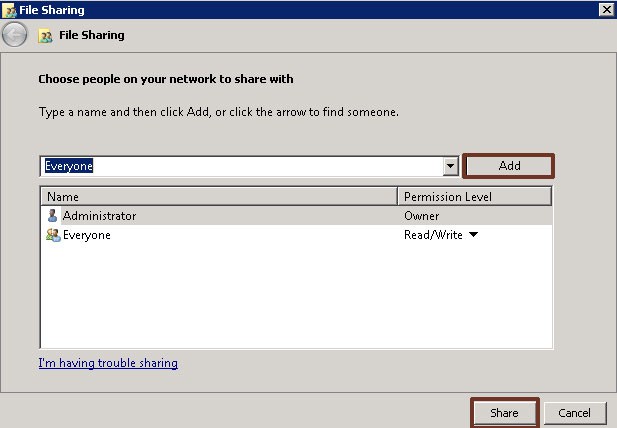
Step 2: Now Select everyone as given below and click on share button
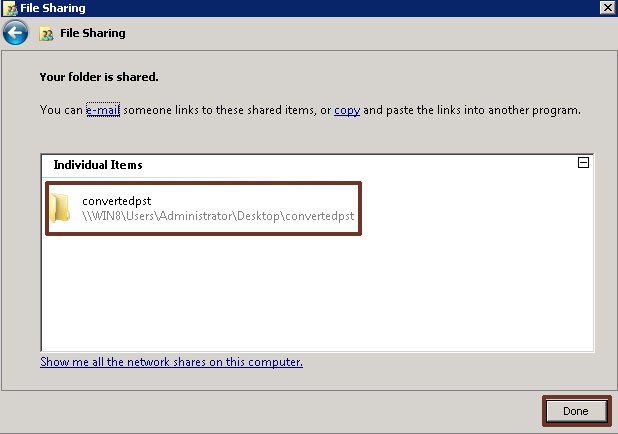
Step 3: Save the resultant path as this path will be used to Export data in PST format
Step 4: Now go to start and select Windows PowerShell and add all Snapin by executing the command given below
Add-PSSnapin –Microsoft.Exchange.Management.PowerShell.e2010

Step 5: Command for Migrating Mailboxes to PST New-MailboxExportRequest –Mailbox ashwani FilePath \\Server name\shareable folder path

Microsoft utility PowerShell can't convert corrupted or damaged file to recover all data you can use an alternate solution Convert EDB mailbox to PST format
Now import the resultant PST file in Exchange 2013 by running the powershell command given bellow
New-MailboxImportRequest -Mailbox ashwani -FilePath \\win8\User\Administrator\convertedpst -TargetRootFolder "migrated data" -IncludeFolders "#Inbox#"
Here ashwani is the name of mailbox of Exchange 2013 in which you want to migrate the Exchange database, migrate data is the new folder in which the data will be imported.
Now you are successfully migrated/upgrade to Exchange Server 2013 from 2010.
I have covered all related aspects needed for migration if you are facing any problem then feel free to contact with our Support Team